This post may contain affiliate links. If you make a purchase through an affiliate link, I will earn a commission at no extra cost to you. Thanks for your support.
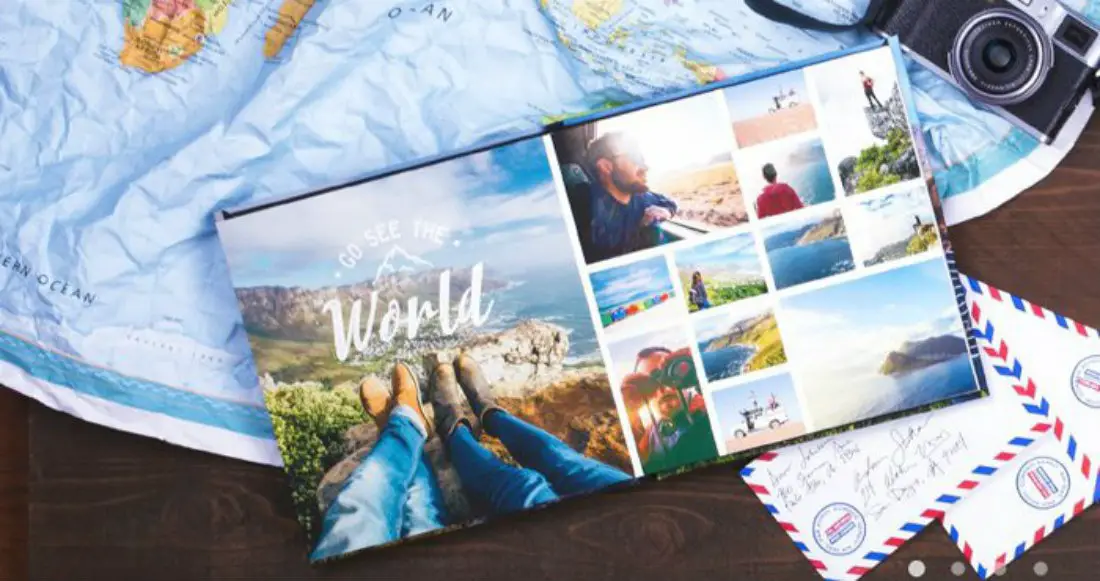
If you have taken a lot of photos on your camera from a recent trip, what better way to showcase them than by compiling them into a photo book?
With a photo book, you can share your travel experiences with your friends and family. When they flip through the photo pages, they can imagine themselves in the places you’ve visited. Another benefit is that it enables you to preserve your travel photos in print.
The following are 13 tips on how to put together a travel photo book.

1. Choose a Theme
Firstly, you must decide on a theme so that you know what photos to include to tell the story. Ideally, the theme you pick should let you continue adding more photos to the book in the near future to let the story continue. For example, a Father’s Day photo book can showcase childhood photos from youth to adulthood of your children.
2. Select the Photos
The next step is to select the photos. If you have 1000 photos, you can’t possibly include all of them. You must narrow down the photos to a manageable number and select only the best shots to use.
You should ask yourself how big you want the photo book to be. For example, if you want a 20 page 12×12 inch book, you must prepare around 240 images.
The pictures you choose must contribute to the story that you want to tell. You can use a photo editor to edit the pictures if there are any flaws such as too much shadow/light, or if a photo is shaky or crooked. You can also add special effects to the photo such as black and white. Often, the photos printed on the page will appear darker so you should try to brighten up the photo in the photo editor also.
3. Use High Quality Photos
For the best results, you must use high-resolution photos that are at least 300 dpi. This means each photo will be about 4 MB in size. If you are not sure, you should visit the photo book service site to find out the requirements. You can right click on the photo and select properties to find out the file size.
The raw photo cannot be expanded to a larger size. If you do this, it will appear blurry. However, if your raw photo is large, you can convert it into a specific image DPI by using an online tool or an offline raw image editor. Usually, the photo need to be larger than the actual size of the page. Prior to uploading, make sure you save a copy of the photos in a different folder just in case.

4. Arrange the Photos
After selecting the photos, you must arrange them in the order you want to present them. The easiest way to arrange the photos is to arrange them in the order they were taken.
It is not necessary to follow a chronological order when arranging the photos. You can pair photos that look good alongside one another. The photos you pair should have a similarity such as color, tone, and texture.
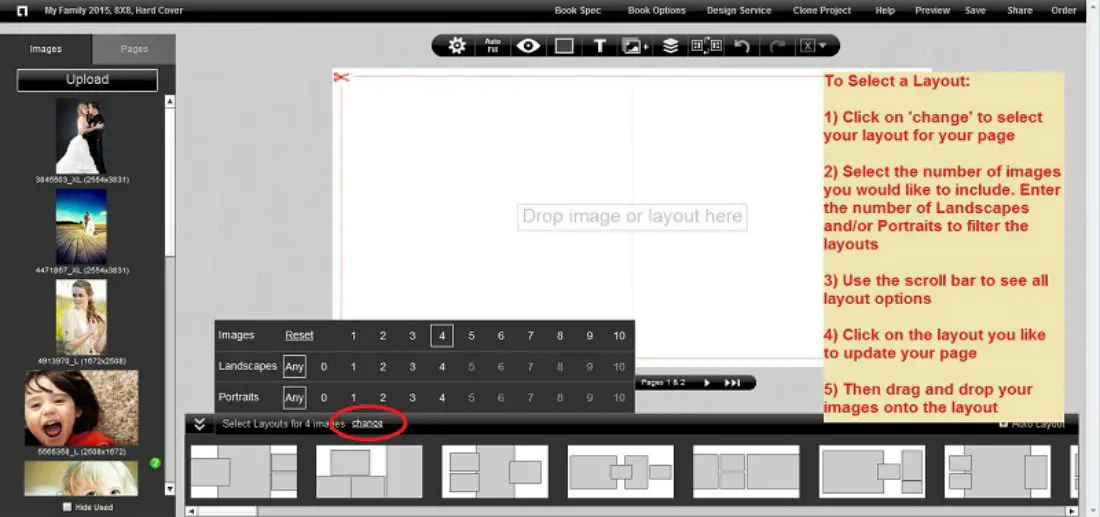
5. Select a Layout for the Photo Book
Next, you must decide on the layout of the photo book. It is important that you don’t try to put too many photos on each page. It is best to just have 1 – 2 photos per page.
A landscape photo book is best for photos that are taken outdoors. A Portrait photo book is ideal for photos that showcase the family together. Square photo books – 8×8 and 12×12 – are suitable for all types of photos. The lay flat option is ideal for high resolution photos that you want to spread over two pages.
You have the option of selecting a soft or hard cover photo book. Hard cover photo books are the best option if the book will be handled by many friends and family members.
6. Vary the Spreads
You can vary your spreads in the photo book to prevent viewers from getting bored. However, if you are making a photo book about a party like a birthday party, you are likely to include more than one photo in a single spread. You can make slight changes to the layout and use it throughout your photo book.

7. Full Bleeding Your Photo
If there is a special photo you want to highlight, you can put it on full bleed on the spread. If you have multiple photos to highlight, you can put the most important photo in full bleed to establish the focal point. The rest of the photos can be displayed alongside one another in smaller sizes, as supporting photos.
8. Include Captions on the Photo
You can include captions to explain about the photo. For example, you can add details like date and location of the photo taken and the event.
You should avoid putting in text and information that is obvious in the photo. The captions should be included in the layout neatly and not just be squeezed in anywhere it fits. There must be some spaces in between the text and the photo. The font style of the caption must match with the theme in the photo book.
9. Cover Page Image
You also have to choose an image to put on the cover page. The image on the book front is the most important as it will give the first impression to the reader. It should be an image that will interest the reader to open the cover and browse through the photos.
The cover photo should be high quality to hint that there are more high quality photos like that if they open the book to see. The image must be related to the book theme so that people will know what the content is about without having to read the captions.
10. Selecting a Title
Finally, you must pick a title for the photo book. The title will be displayed on the cover artwork. The title you choose should have a lasting impression on the readers. When thinking of a title, you can consider the images, for example, the places and the people in the photo, and the story you are trying to tell through the compilation.
11. ISBN and Copyright
You don’t have to worry about getting an ISBN for your photo book. An ISBN is not needed since it is not going to be widely distributed or on sale in a store. There is also no need to worry about getting a copyright. The moment you put your on the photo book, it is already copyrighted to your name. Copyright is only necessary if it is going to be published by a publisher or if your images are chosen by a publishing company for reprinting.
12. Compiling the Photo into a PDF
In the online photo book creation service, you have the option of uploading images or uploading a PDF. The second option allows you to customize the layout of the images first so that you don’t have to spend a lot of time on the photo book creation service site.
For the second option, you must first convert your image to PDF using a PDF editor like Movavi PDF Editor. When you open the software, you must drop all your images onto the drag and drop interface. Next, you must use your mouse to select them and click on the merge files button. When the pop up appears, you must go to File > Save as and enter a name and destination folder for the new PDF.

The software has an Edit Object feature in Pages mode that lets you select an image and perform edits on it. For example, if you want to put multiple photos in a single page, you can select the first image and drag the corner to reduce its size so that there will be room to put other pictures on the page. After that, you can use the copy feature to copy another photo and come back to the page to paste it.
You can rearrange your travel photo by selecting it and dragging it around. The software supports photo rotation by 90 degrees and 180 degrees.
You can rotate the photo in your preferred orientation by clicking on the rotate button. If you want to view pictures, you must go to the View mode. The View mode is not for editing as any changes made on this mode will not be permanent.
If you want to include text, you must first design the text on an image editor and save it as an image. After that, you must import it into the software by dropping it on the interface. Next, you must go to Edit Objects and copy the text. After that, you can paste the text in the desired page. You can move the text block image with your mouse and put it anywhere you like on the page.
13. Order a Sample Photo Book First
Before placing a big order, it is recommended that you start by ordering just one small photo book first. When the photo book arrives, you can take a look at the images and check the printing quality. You can show it to your friends and ask for their opinions.
If you don’t have the budget to make a photo book, you can distribute it in PDF format to your family and friends instead.
